基本 CRUD 应用程序
虽然在基本的 CRUD 应用程序中使用 Socket.IO(或纯 WebSocket)听起来有点过分,但轻松通知所有用户的能力确实很强大。
在本指南中,我们将基于出色的 TodoMVC 项目 创建一个基本的 CRUD(代表 **C**reate/ **R**ead/ **U**pdate/ **D**elete)应用程序。
我们将涵盖以下主题
让我们开始吧!
安装
代码可以在主存储库的 examples 目录中找到
git clone https://github.com/socketio/socket.io.git
cd socket.io/examples/basic-crud-application/
您应该看到两个目录
运行前端
该项目是一个基本的 Angular 应用程序,它是使用 Angular CLI 创建的。
要运行它
cd angular-client
npm install
npm start
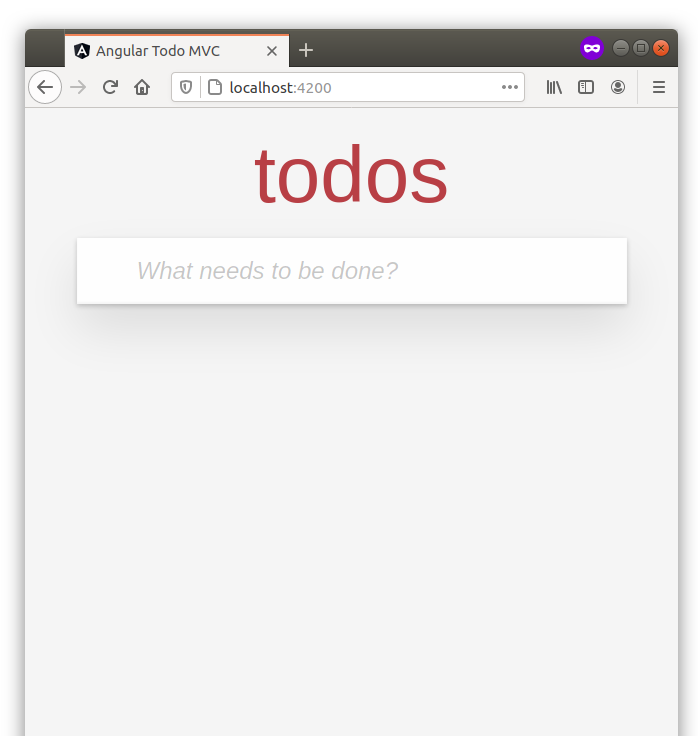
然后,如果您在浏览器中打开 https://:4200,您应该看到
到目前为止,一切都很好。
运行服务器
现在让我们关注服务器
cd ../server
npm install
npm start
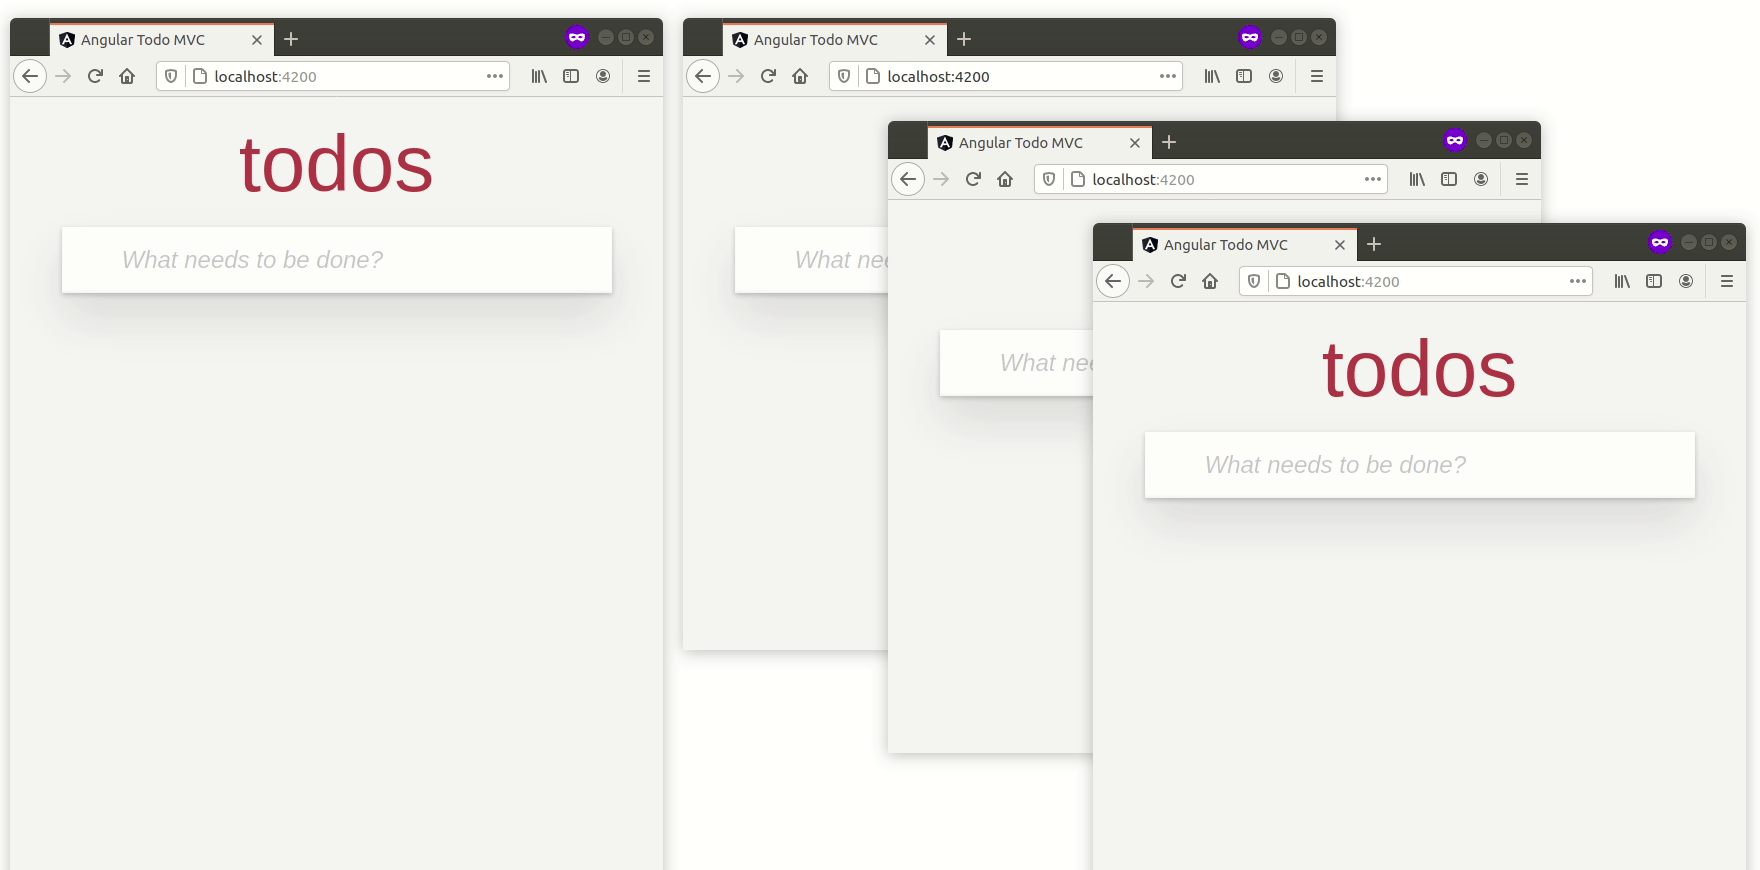
您现在可以打开多个选项卡,并且待办事项列表应该神奇地在它们之间同步
工作原理
服务器结构
├── lib
│ ├── index.ts
│ ├── app.ts
│ ├── todo-management
│ │ ├── todo.handlers.ts
│ | └── todo.repository.ts
│ └── util.ts
├── package.json
├── test
│ └── todo-management
│   └── todo.tests.ts
└── tsconfig.json
让我们详细说明每个文件的职责
index.ts:服务器的入口点,它创建组件并初始化应用程序app.ts:应用程序本身,在其中创建 Socket.IO 服务器,并注册处理程序todo.handlers.ts:对 Todo 实体的操作的处理程序todo.repository.ts:用于从数据库持久化/检索 Todo 实体的存储库util.ts:项目中使用的一些通用实用程序方法todo.tests.ts:集成测试
初始化
首先,让我们关注 lib/app.ts 文件中的 createApplication 方法
const io = new Server<ClientEvents, ServerEvents>(httpServer, serverOptions);
我们使用以下选项创建 Socket.IO 服务器
{
  cors: {
    origin: ["https://:4200"]
  }
}
因此,在 https://:4200 上提供服务的 Frontend 应用程序被允许连接。
文档
<ClientEvents, ServerEvents> 部分特定于 TypeScript 用户。它允许显式指定在服务器和客户端之间交换的事件,因此您获得自动完成和类型检查

回到我们的应用程序!然后,我们通过注入应用程序组件来创建处理程序
const {
    createTodo,
    readTodo,
    updateTodo,
    deleteTodo,
    listTodo,
} = createTodoHandlers(components);
我们注册它们
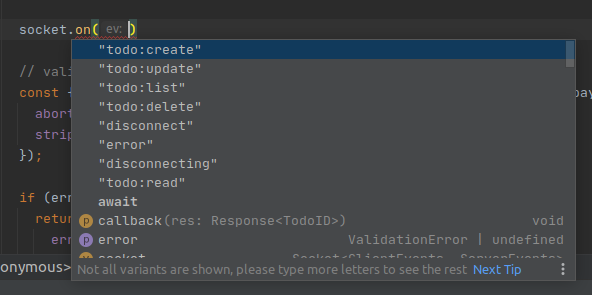
io.on("connection", (socket) => {
  socket.on("todo:create", createTodo);
  socket.on("todo:read", readTodo);
  socket.on("todo:update", updateTodo);
  socket.on("todo:delete", deleteTodo);
  socket.on("todo:list", listTodo);
});
文档:监听事件
注意:事件后缀(:create、:read 等)在 REST API 中替换了通常的 HTTP 动词
POST /todos=>todo:createGET /todos/:id=>todo:readPUT /todos/:id=>todo:update- ...
事件处理程序
现在让我们关注 lib/todo-management/todo.handlers.ts 文件中的 createTodo 处理程序
首先,我们检索 Socket 实例
createTodo: async function (
  payload: Todo,
  callback: (res: Response<TodoID>) => void
) {
  const socket: Socket<ClientEvents, ServerEvents> = this;
  // ...
}
请注意,使用箭头函数 (createTodo: async () => {}) 在这里不起作用,因为 this 不会指向 Socket 实例。
然后,我们使用出色的 joi 库验证有效负载
const { error, value } = todoSchema.tailor("create").validate(payload, {
  abortEarly: false, // return all errors and not just the first one
  stripUnknown: true, // remove unknown attributes from the payload
});
如果有验证错误,我们只需调用确认回调并返回
if (error) {
  return callback({
    error: Errors.INVALID_PAYLOAD,
    errorDetails: error.details,
  });
}
我们在客户端处理错误
// angular-client/src/app/store.ts

this.socket.emit("todo:create", { title, completed: false }, (res) => {
  if ("error" in res) {
    // handle the error
  } else {
    // success!
  }
});
文档:确认
如果有效负载成功匹配模式,我们可以生成一个新的 ID 并持久化实体
value.id = uuid();

try {
  await todoRepository.save(value);
} catch (e) {
  return callback({
    error: sanitizeErrorMessage(e),
  });
}
如果出现意外错误(例如,如果数据库已关闭),我们使用通用错误消息调用确认回调(为了不公开应用程序的内部机制)。
否则,我们只需使用新 ID 调用回调
callback({
  data: value.id,
});
最后(这是神奇的部分),我们通知所有其他用户创建
socket.broadcast.emit("todo:created", value);
文档:广播事件
在客户端,我们为该事件注册一个处理程序
// angular-client/src/app/store.ts

this.socket.on("todo:created", (todo) => {
  this.todos.push(mapTodo(todo));
});
就是这样!
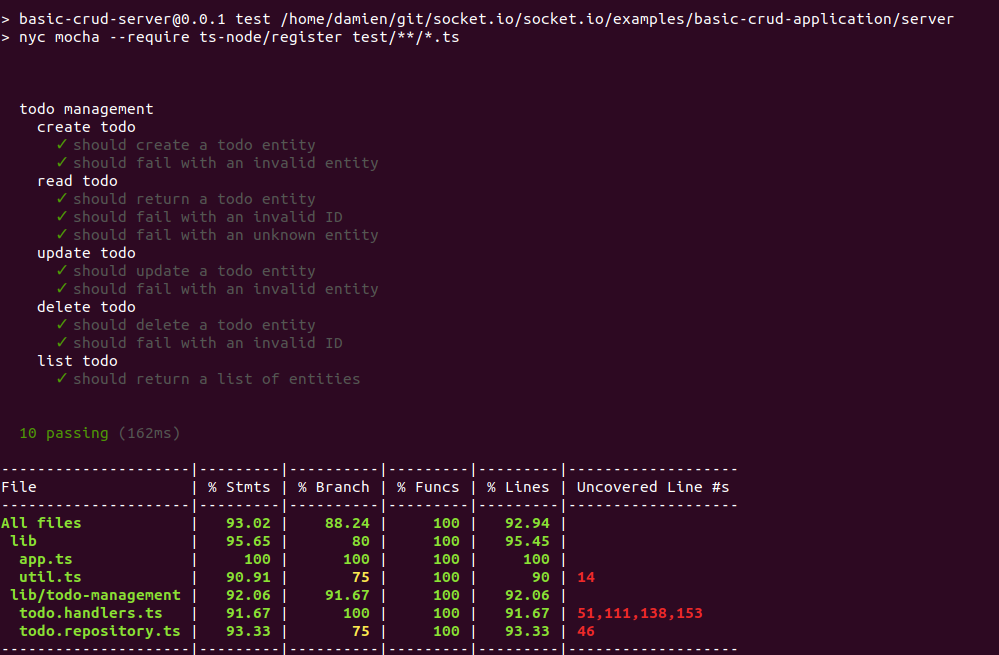
测试
由于我们是相当合理的开发人员,我们现在将为我们的处理程序添加一些测试。让我们打开 test/todo-management/todo.tests.ts 文件
应用程序在 beforeEach 钩子中创建
beforeEach((done) => {
  const partialDone = createPartialDone(2, done);

  httpServer = createServer();
  todoRepository = new InMemoryTodoRepository();

  createApplication(httpServer, {
    todoRepository,
  });

  // ...
});
我们创建两个客户端,一个用于发送有效负载,另一个用于接收通知
httpServer.listen(() => {
  const port = (httpServer.address() as AddressInfo).port;
  socket = io(`https://:${port}`);
  socket.on("connect", partialDone);

  otherSocket = io(`https://:${port}`);
  otherSocket.on("connect", partialDone);
});
重要说明:这两个客户端在 afterEach 钩子中显式断开连接,因此它们不会阻止进程退出。
文档:https://mocha.node.org.cn/#hooks
我们的第一个测试(快乐路径)非常简单
describe("create todo", () => {
  it("should create a todo entity", (done) => {
    const partialDone = createPartialDone(2, done);

    // send the payload
    socket.emit(
      "todo:create",
      {
        title: "lorem ipsum",
        completed: false,
      },
      async (res) => {
        if ("error" in res) {
          return done(new Error("should not happen"));
        }
        expect(res.data).to.be.a("string");

        // check the entity stored in the database
        const storedEntity = await todoRepository.findById(res.data);
        expect(storedEntity).to.eql({
          id: res.data,
          title: "lorem ipsum",
          completed: false,
        });

        partialDone();
      }
    );

    // wait for the notification of the creation
    otherSocket.on("todo:created", (todo) => {
      expect(todo.id).to.be.a("string");
      expect(todo.title).to.eql("lorem ipsum");
      expect(todo.completed).to.eql(false);
      partialDone();
    });
  });
});
让我们也使用无效的有效负载进行测试
describe("create todo", () => {
  it("should fail with an invalid entity", (done) => {
    const incompleteTodo = {
      completed: "false",
      description: true,
    };

    socket.emit("todo:create", incompleteTodo, (res) => {
      if (!("error" in res)) {
        return done(new Error("should not happen"));
      }
      expect(res.error).to.eql("invalid payload");
      // check the details of the validation error
      expect(res.errorDetails).to.eql([
        {
          message: '"title" is required',
          path: ["title"],
          type: "any.required",
        },
      ]);
      done();
    });

    // no notification should be received
    otherSocket.on("todo:created", () => {
      done(new Error("should not happen"));
    });
  });
});
您可以使用 npm test 运行完整的测试套件
就这样!其他处理程序与第一个处理程序非常相似,这里不再赘述。
下一步
感谢您的阅读!